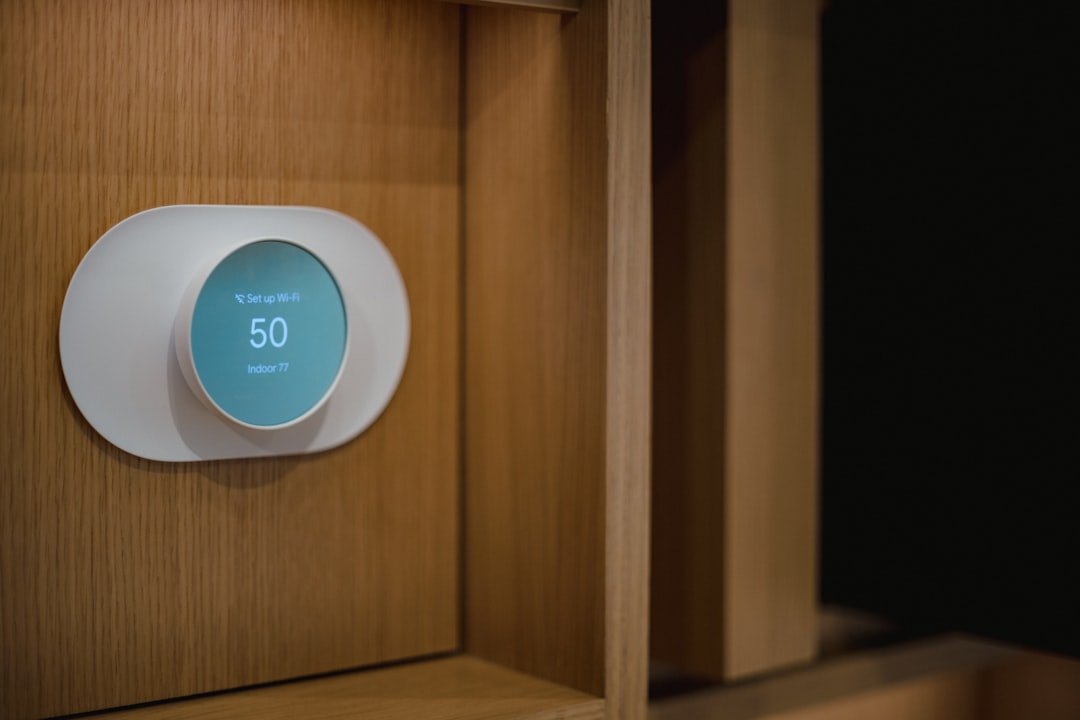
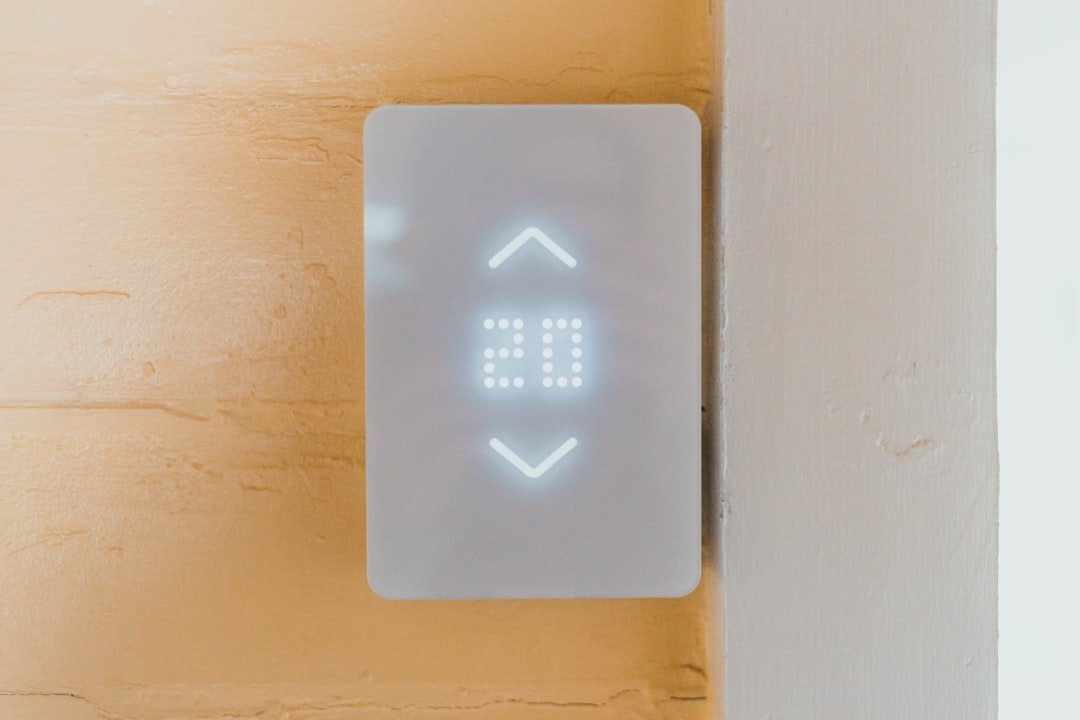
A simple smart thermostat setup starts before installation: confirm compatibility, choose the main schedule, place the device correctly, and connect only the features you will actually use.
Verify the thermostat can work with your system
Check HVAC type, voltage, C-wire needs, heat pump settings, and app requirements before removing the old thermostat. This prevents a budget upgrade from turning into an urgent wiring problem.
Take a photo of the old wiring and keep the labels clear. If the wiring does not match the setup guide, pause before forcing the installation.
Plan one schedule before adding automation
Write down the normal wake, away, evening, and sleep temperatures. A clear starter schedule is easier to test than letting multiple learning or geofence features take over immediately.
Use conservative temperature changes first. Comfort complaints can make people abandon the setup before it has a fair chance to help.
Connect the app and Wi-Fi carefully
Use a strong network, update the thermostat firmware, and confirm every household member who needs access can use the app. Remote control is only helpful when the basics are reliable.
If the thermostat sits far from the router, check signal strength before blaming the device for slow responses.
Add extras only after the first week
Voice commands, room sensors, and advanced routines are easier to judge after the thermostat has already run a simple schedule. Add one feature at a time so problems are easy to trace.
This slower approach keeps the setup easier for renters, families, and anyone trying to avoid unnecessary smart-home spending.
Keep the smart thermostat setup maintainable
Review the schedule when seasons change and remove settings nobody understands. For more budget smart-home ideas, browse the Affordable Smart Living article archive.
Keep This Practical
A smarter home does not require a complicated rollout. Pick one practical automation, test it in real life, and keep the version that saves time without adding maintenance.